

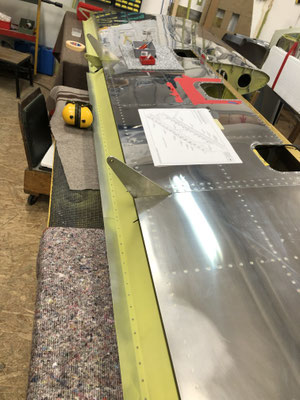
Now it was time to rearrange the workshop again, so we can install the ER tanks on the wings. Lots of tetris involved, before we had a wing on the tables.
Cutting into the wing to make room for the 2 extra rib bays of the ER tanks did elevate our heart rate quite a bit! As did the extra holes we needed in the wing spar flanges.
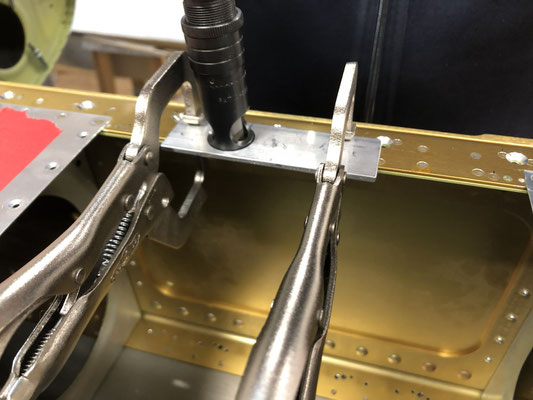
Countersinking with the nutplates made us scratch our heads a little, as the oval holes of the nut plates will not center the countersink bit properly. So we used a AN970 washer with a screw to center an alignment plate for the countersink cage, clamped the plate in place and removed the screw and washer. Voilà, a nice guide for the countersink cage!
On the left wing, we did not install the additional access plate, as we already have the access plate for the heated pitot.
Some minor contortion work required on my side for the bucking of the doubler rivets and some weight lifting training for us both to turn the wings from time to time. Really glad that I am not building this plane on my own, no idea how others do it.
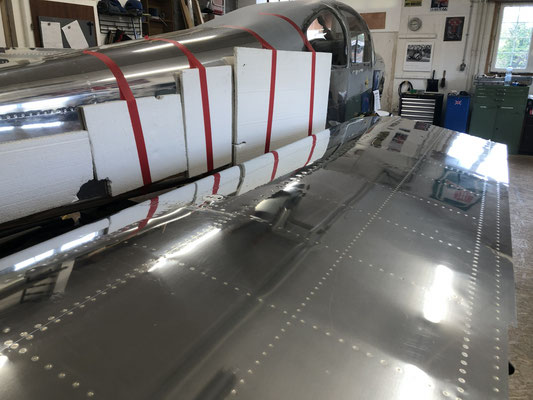
At last we had some comedy with bolting the wings on, we had to take them off again to file down the edge of the tank skin a bit. Once they were on, we were really happy to have finished the extended range tanks and that we are ready to mount the engine!

Write a comment